
Last updated November 16, 2026
 Whole-home duct cleaning
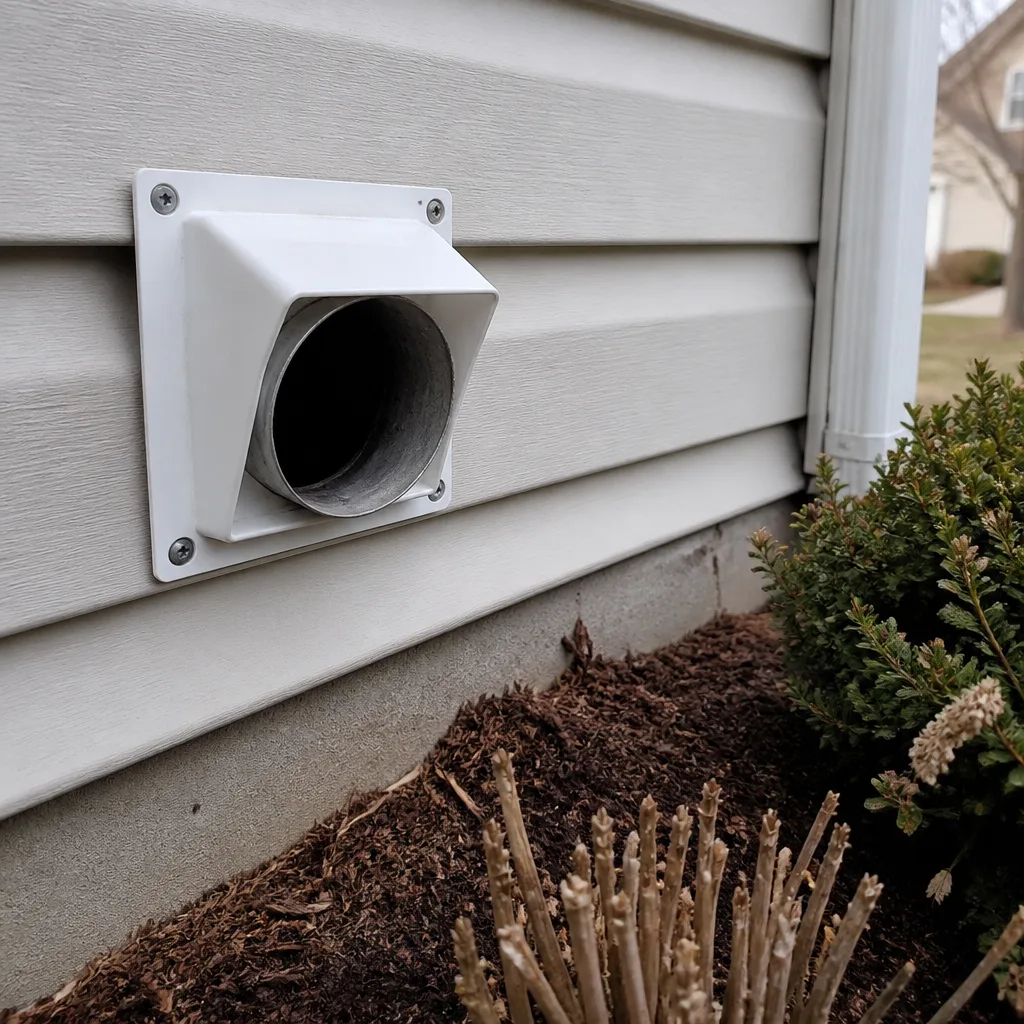 Dryer vent cleaning
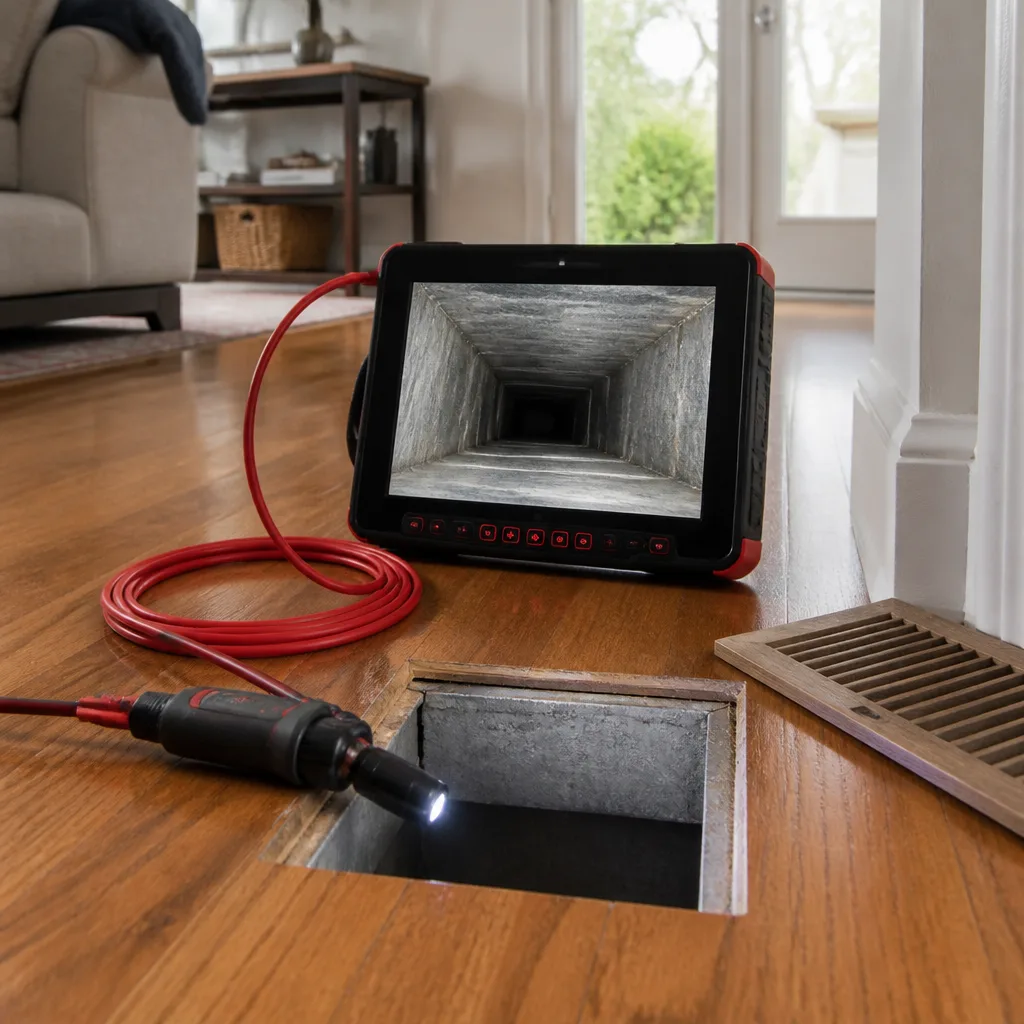 Camera inspection
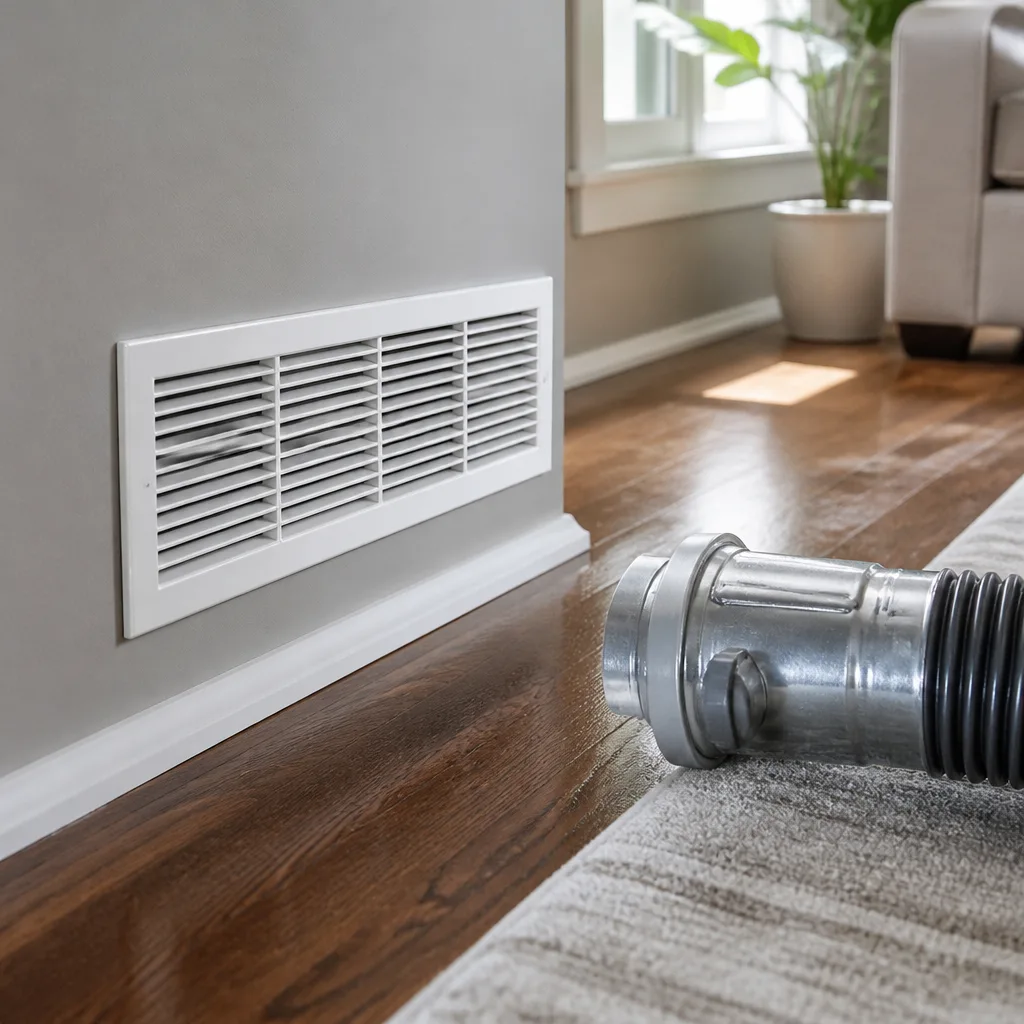 Sanitizing & deodorizing
Whole-system duct and dryer vent check with before-and-after photos - you see exactly what came out of your vents
That "$99 whole-house special" is a bait ad - the real number appears once they are in your hallway, or the "clean" is a shop-vac at the register. We photograph the inside of your ducts before and after instead.
Air Duct Cleaning Warning Signs: A Deltona Homeowner’s Reference Guide
Most homeowners in Deltona assume they’d notice a duct problem. The ducts would rattle, or the house would smell stale, or someone in the family would start sneezing. In our experience, that’s the exception, not the rule. Central Florida homes run their air handlers hard for most of the year, and the duct conditions that do the most expensive damage – microbial growth on wet liner, flex runs that have quietly collapsed inside the attic, duct board that’s rotting from the inside out – don’t announce themselves. They just show up as a room that never cools, a power bill that crept up, or a musty smell the first thirty seconds the system comes on. This guide walks through the warning signs that actually matter for a Deltona house, which ones you can check yourself, and which ones mean it’s time to get the system looked at properly.
Quick Answer
The warning signs of ductwork that needs professional attention in Deltona are uneven room temperatures, a musty odor in the first minute after the system starts, visible streaks or dark staining around supply registers, an unexplained 15 – 20% jump in cooling costs, excess dust settling on surfaces days after cleaning, and drywall or construction dust within the last 60 – 90 days. If you check three or more of these, a full inspection rather than a basic cleaning is the right next step.
Styles & brands we work with
- Whole-home duct cleaning
- Dryer vent cleaning
- Camera inspection
- Sanitizing & deodorizing
Table of Contents
- The Room-Temperature Differential Test
- What a Musty Odor After System Startup Actually Means
- Reading the Register Face: Upstream Contamination vs. Surface Dust
- Energy Bill Pattern Recognition
- The Post-Renovation Warning Window
- What’s Happening Inside a Deltona Attic Duct Run
- The Dryer Vent Is Part of the Same Air System
- When Cleaning Isn’t Enough and Repair Is the Real Fix
The Room-Temperature Differential Test
A flex duct run that has partially collapsed or come disconnected at a takeoff can cut airflow to the room it serves by as much as 40% – and most homeowners blame the thermostat, not a structural failure inside the duct run. The single most useful thing you can do without opening a wall is measure the temperature coming out of each supply register. You don’t need a contractor’s tool for this. An inexpensive infrared thermometer or a digital one held right at the register face gets you close enough to spot a problem.
How to run the test
- Let the air conditioner run at least 20 minutes so the system reaches steady operation.
- Set the thermostat to a fixed temperature and don’t move it during the test.
- Measure the return air temperature at a central return grille with the thermometer.
- Measure the supply temperature at the center of each register face, holding the thermometer about an inch away from the grille.
- Write the difference between return and supply down for each room. Don’t rely on memory – the pattern only appears when the numbers sit side by side.
What you want is a consistent drop across the supplies. A register reading noticeably warmer than the others – a gap of 8 degrees or more between the best room and the worst one – points at that run specifically. It could be a collapsed flex section, a crushed duct where it passes over a joist, a separated boot behind the drywall, or a run that was never sized correctly to begin with. In Deltona, where attics sit above 130°F through the summer, even a slightly undersized flex run gets punished because it loses cooling capacity as it travels through the attic. Run the test again in the milder months. If the gap persists when attic heat isn’t a factor, it’s structural, not seasonal.
One caution: a warm room can also be a refrigerant, compressor, or thermostat problem. The differential test tells you that the duct run is a suspect, not that it’s guilty. Confirming which one it is requires looking inside the duct itself, which is exactly where professional equipment earns its keep.
What a Musty Odor After System Startup Actually Means
A musty smell in the first thirty to sixty seconds after the air handler starts is a specific finding, and it points to one of two very different conditions. The distinction matters because they don’t share a fix. The first is a wet evaporator coil – condensation sitting in the coil pan or on the coil face, growing microbial matter that the moving air picks up on startup. The second is moisture in the duct liner itself, typically fiberglass liner inside a trunk or branch run that has taken on water from a leak, high attic humidity, or condensation on a poorly insulated section.
Why the timing of the smell matters
An odor that appears briefly on startup and fades is usually a surface condition the air passes over once and leaves behind. An odor that builds the longer the system runs is more often a condition upstream that’s being fed continuously. Where you smell it matters too. Odor coming from one or two registers points at that branch run or its liner. Odor coming from the central return or from everywhere at once points at the coil, the filter slot, or the trunk line. Musty smells with a distinct “wet cardboard” character are more consistent with duct board that has absorbed moisture and is deteriorating. A sharper, sour edge is more consistent with biological growth on a wet coil.
What we won’t do is tell you to spray something in the register and call it done. A treatment applied to the duct won’t fix a coil problem, and a coil cleaning won’t fix liner that’s growing matter on a wet surface. The right move is to look at both. Abatement Technologies containment and filtration equipment lets us work with air quality in mind during the inspection rather than just blowing the problem around, and it lets us tell you honestly which of the two conditions you’re actually dealing with. If you want the full picture of what a professional job involves, our air duct cleaning page walks through the process step by step.
Reading the Register Face: Upstream Contamination vs. Surface Dust
Every supply register in your Deltona home is a diagnostic window if you know what you’re looking at. The mistake most homeowners make is treating all visible dust the same way. It isn’t. Dust sitting on the face of the grille is the ordinary kind – it’s in every house, and a damp rag clears it. What you’re looking for is the dust that has been pushed there by air coming from farther up the line.
Five register-face signals worth noting
- Dark streaks radiating out from the louvers. This is dust that has been carried at velocity and deposited against the grille face. The pattern usually points to a dirty trunk line or a filter that’s been bypassing.
- Black or gray staining at the edge of the grille where it meets drywall. Staining that tracks outward into the drywall is a clue the dust has been ongoing long enough to load the register opening.
- Visible fuzz or fibrous material in the louvers. Loose fibers at a supply usually mean duct board or liner is shedding upstream, which means the surface inside the duct has started to break down.
- Warm air that smells of dust the moment the system starts. That’s a sign the interior surfaces have loaded up and are being disturbed by the initial pressure change.
- Moisture or water staining on the grille. Any visible moisture at a supply register deserves immediate attention – wet duct interiors in Florida’s climate grow matter quickly.
Contrast this with ordinary surface dust. Ordinary dust wipes off clean and doesn’t leave a stain or come back within a week. If you clean a register face and the same streak pattern is back a few days later, the source is upstream and a rag won’t reach it. The same goes for dust settling on furniture, ceiling fan blades, and the tops of door frames within a few days of a full house cleaning. Some settling is normal. Reappearing dust with a gray tint within three to five days is a pattern, not an accident.
Energy Bill Pattern Recognition
An unexplained jump of 15 – 20% in your summer cooling costs, with no change in rate, thermostat habits, or household occupancy, is one of the strongest signals that a duct run has developed a leak or a blockage. It’s also the signal homeowners most often miss, because the change happens across two or three billing cycles rather than overnight. In a Deltona home, where air conditioning runs nearly year-round, that pattern gets buried under ordinary seasonal variation unless you look for it deliberately.
How to spot the pattern
- Pull your last twelve months of power bills and lay them side by side.
- Compare the same months year over year, not consecutive months. March against March, July against July.
- Mark any month that rose 15% or more with no change in household routine.
- If the jump persists across three or more months, and the thermostat hasn’t changed, suspect the ducts or the equipment.
- If it’s a single month and the weather was unusually hot, it may just be the weather. Repeat bills are the pattern that matters.
Leaks in the supply side waste conditioned air into the attic before it reaches a room. Leaks on the return side pull hot, dirty attic air into the system, which makes the air handler work longer and pushes more attic dust into the living space. Blockages – a crushed flex run, a collapsed duct board trunk, or a damper stuck closed – force the blower to work harder against higher static pressure, and that means more electricity for the same cooling. All three show up on the power bill before they show up anywhere else.
In our experience, homeowners who track their bills against a baseline catch duct problems months earlier than homeowners who don’t, and the fix is often smaller as a result. A deteriorated section of duct board that’s caught early is a repair. Caught late, after it has soaked up attic humidity and started shedding fibers into the air stream, it’s a more involved intervention.
The Post-Renovation Warning Window
If your Deltona home has had drywall, flooring, or cabinet work done in the last 60 to 90 days, that window is the single most important time to have the duct system inspected. Drywall dust is finer than household dust and far more aggressive. It migrates everywhere the return air goes, which means it settles inside the return plenum, coats the filter rack, and starts building up inside the trunk line. Construction debris – cutoffs of flex, scraps of liner, sawdust, drywall chunks – can end up inside the duct system if takeoffs were opened and temporarily uncapped during the work.
What changes in the 60 – 90 day window
For the first few days after a project, dust is still settling and a simple filter change is enough. The problem is what happens after that. Drywall dust has a habit of clinging to the interior surfaces of flexible duct, and once it accumulates, ordinary airflow doesn’t move it. By 60 to 90 days, it has often formed a fine layer that keeps taking on more material. If the project involved kitchen or bathroom work, fine silica dust can also have reached interior duct surfaces you can’t see.
What we look for in a post-renovation inspection is different from a routine one. The filter rack gets checked for bypass around the edges, because a filter that isn’t sealed at the frame lets dust through into the blower. The return plenum gets checked for buildup because construction dust settles there first. Any flexible runs that were moved during the project get checked for kinks and disconnects, since a run that was pulled aside and then tucked back is a common source of new leakage. We’ve walked Deltona homes where the entire post-renovation problem came down to one disconnected flex run behind a piece of new cabinetry – a small repair if it’s caught, a much larger problem if it runs for a full summer first.
Treat the 60 – 90 day inspection as part of the project. It’s not a marketing upsell. It’s the point where construction dust has stopped moving and started accumulating, and where a duct system can be reset before the buildup has a chance to cake in.
What’s Happening Inside a Deltona Attic Duct Run
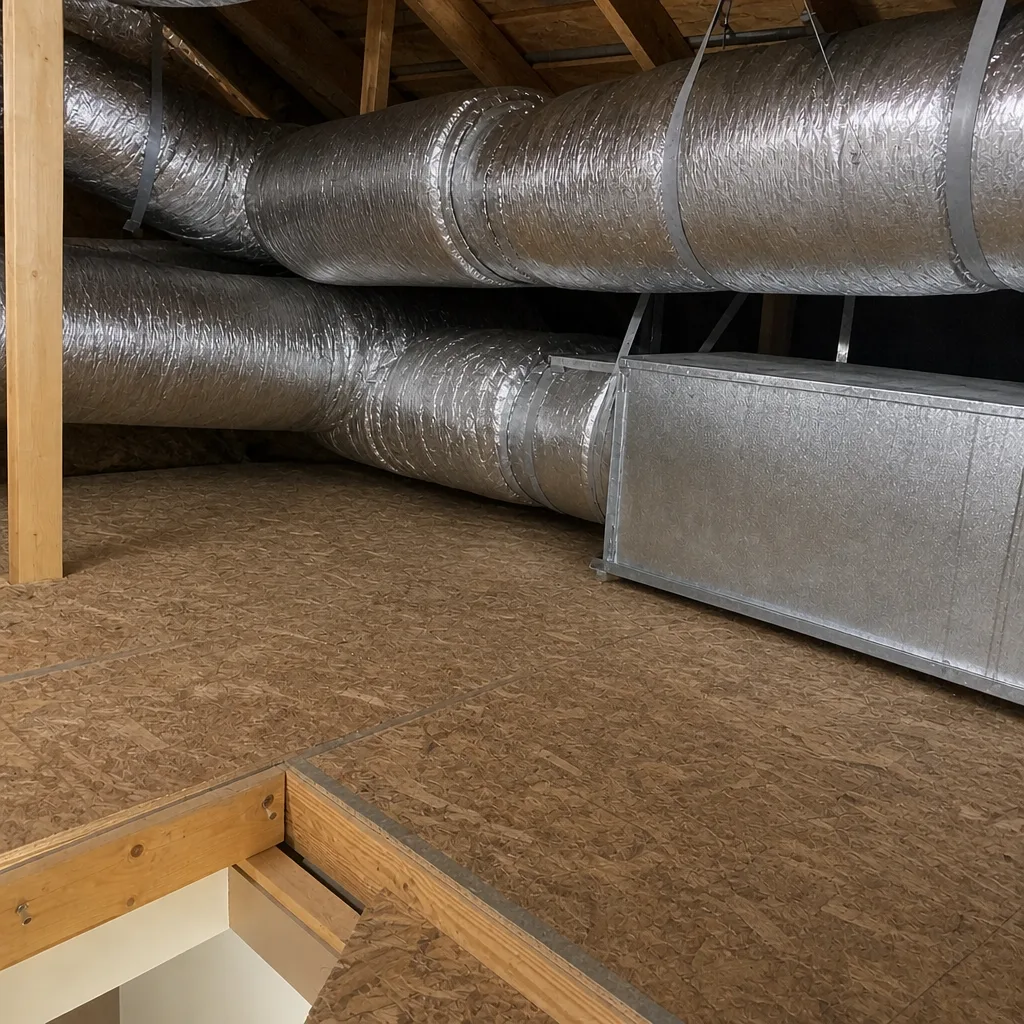
Most of the duct system in a single-story Deltona home runs through the attic, which means it lives in one of the harshest environments a residential duct system can occupy. Attic temperatures through the warm months routinely top 130°F, and humidity in the attic tracks the outside air. That combination puts stress on every seam, joint, and liner surface in the system.
What fails first
- Flex duct at the takeoff and the boot. Flex is a soft material with a rigid wire helix. When it’s compressed at a tight radius, or pulled at the connection, the inner liner separates from the outer jacket. Once it separates, the run loses R-value and, in the wrong spot, starts leaking air into the attic.
- Tape and mastic at the joints. Standard foil tape has a working life, and in an attic that runs hot and humid, that life is shorter. A joint that was sealed at install can open up over time. The leak is invisible from the floor of the attic unless you know to look at the joint specifically.
- Interior duct board. Duct board is fiberglass board with a foil face on the outside and a coated interior surface. Once the interior coating is compromised – by moisture, mechanical damage, or age – the fiberglass underneath is exposed to airflow. That’s where fibers shed and where microbial growth takes hold.
- Collapsed runs. A run that has been stepped on, crushed under stored boxes, or pinched between structural members can lose a large fraction of its cross-section. The room stays warm, the blower works harder, and nothing visible on the living side of the house explains why.
- Liner delamination. In lined metal trunk sections, the interior fiberglass liner can start to separate from the metal and sag into the air stream, which chokes off the trunk and starts collecting dust.
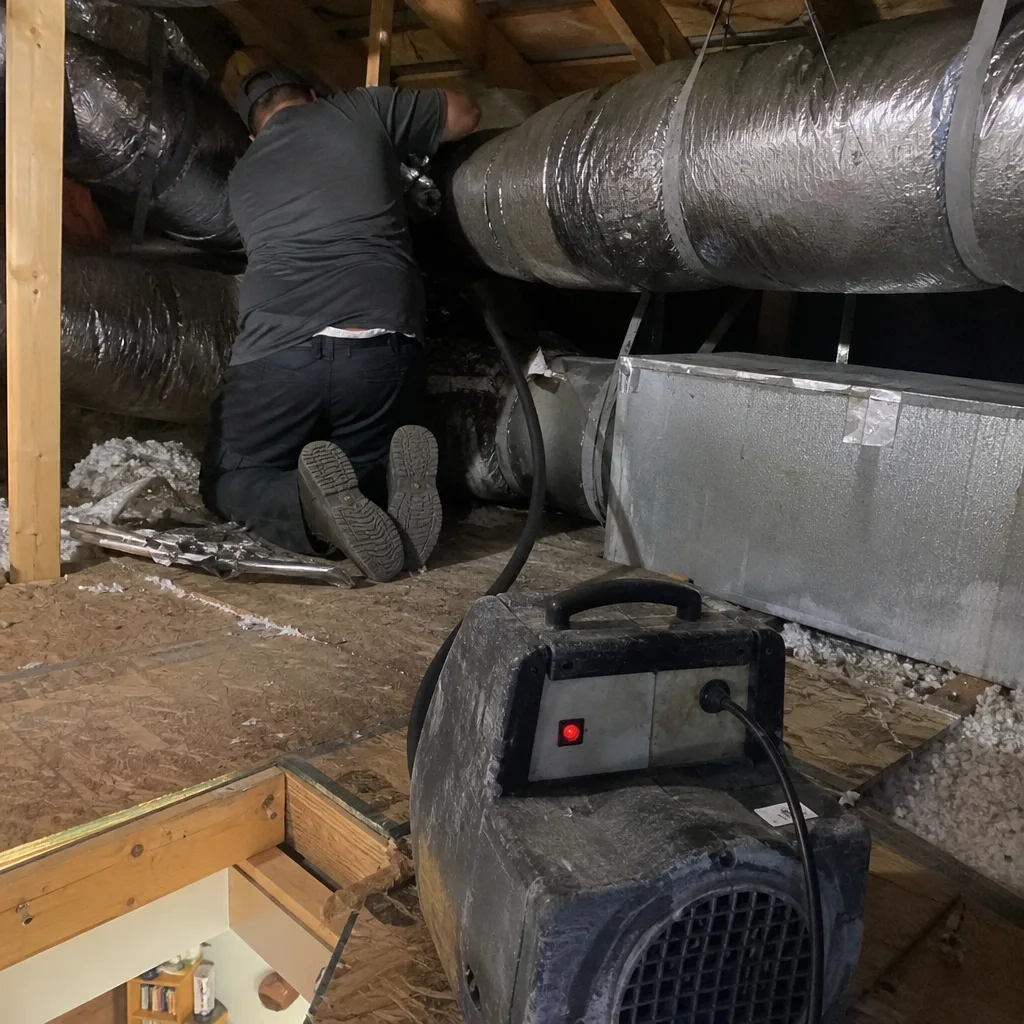
This is where professional inspection equipment makes a real difference. A camera run through the trunk line tells you what the interior actually looks like. Rotobrush and Nikro systems, which are the same systems used in commercial and remediation work, give a technician a way to clean without tearing up the interior liner, and the contact-vacuum setup keeps the debris contained. Consumer-grade shop vacuums don’t come close to the airflow needed to move a loaded trunk line. If you want to see how the inspection step fits into the whole service, our Deltona Duct Cleaning page covers the full picture.
The Dryer Vent Is Part of the Same Air System
Most homeowners think of the dryer vent as separate from the ducts, but in Deltona homes the two systems share the same attic and the same failure modes: lint buildup, crushed or kinked runs, and connections that come loose behind the wall. A dryer vent that’s restricted shows up as longer dry times, a dryer that feels hot to the touch on the outside, and clothes that come out slightly damp on the second cycle. Unlike a dirty supply duct, a restricted dryer vent has an obvious early warning you can measure yourself: how long a typical load takes to dry compared to what it used to.
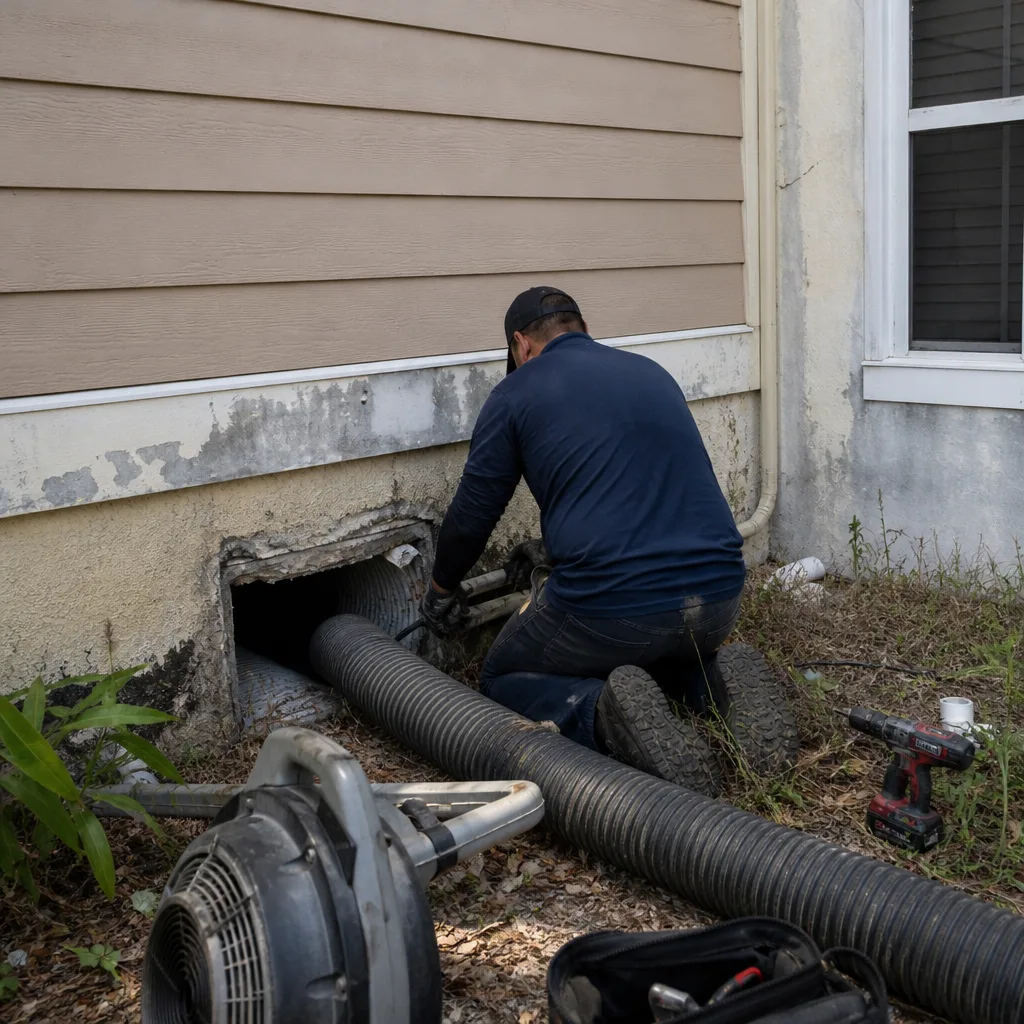
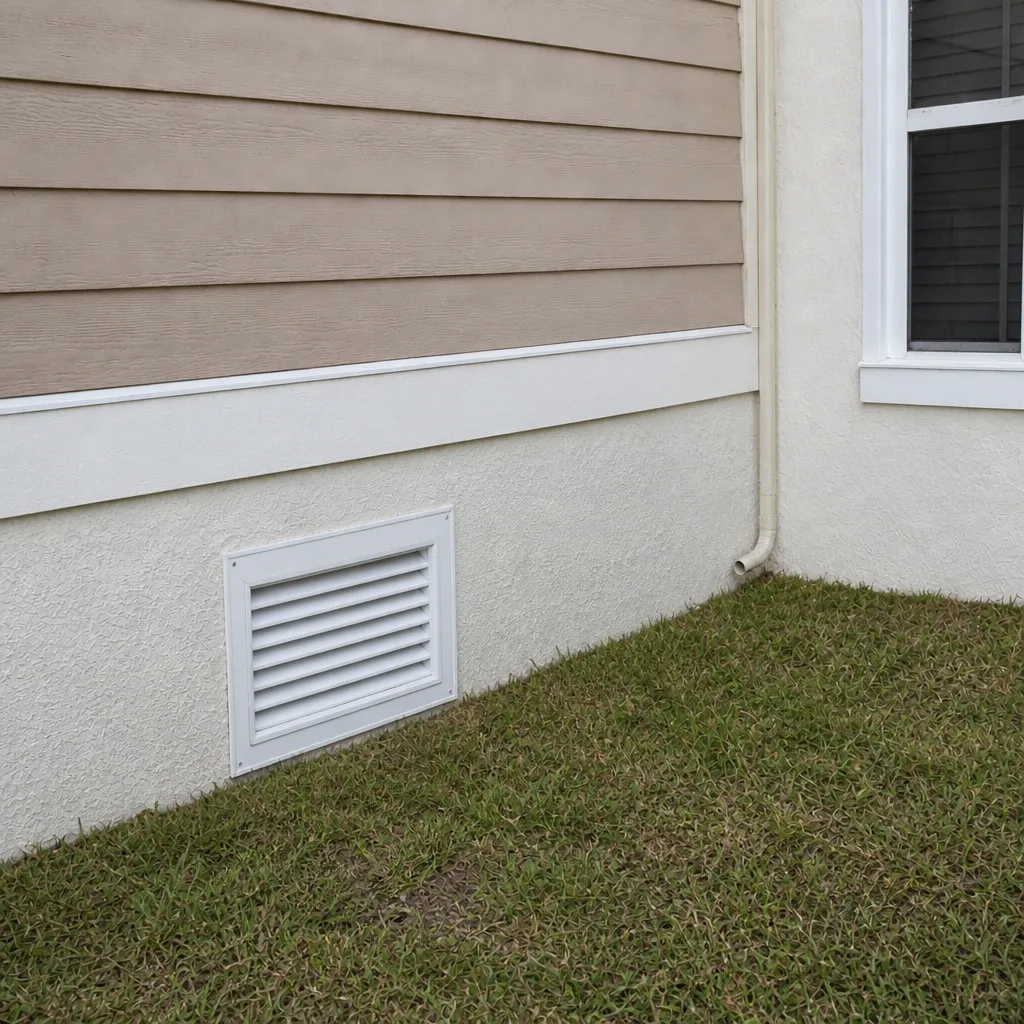
Lint is the main risk. It’s flammable, it accumulates in the vent run, and a flex run with a sag in it collects lint faster than a straight one. If the dryer is in a laundry alcove inside the home, the run often travels through the attic to reach an exterior wall, which is where the sag and the crush points tend to be. Cleaning a dryer vent properly means running a brush through the full length of the run and pulling the lint out with a vacuum designed for it, not just clearing the first foot behind the dryer. Our dryer vent cleaning service covers the full run from the dryer connection to the exterior termination.
The same post-renovation rule applies here. If a project moved the laundry appliances, changed the exterior wall, or added insulation around the vent run, that’s a reason to check the vent, not just the ducts. A dryer vent that got kinked during a project can go restricted without any obvious sign other than the dryer taking longer.
When Cleaning Isn’t Enough and Repair Is the Real Fix
One of the more common frustrations in this trade is discovering that a “cleaning” job wasn’t the right service at all. If a flex run has separated at a takeoff, or duct board has deteriorated past the point of being serviceable, or a boot behind the drywall has come disconnected, cleaning what’s inside is treating a symptom. The actual fix is repair, and most cleaning-only companies don’t offer it. They clean what’s there, note the problem, and hand you off to a second contractor who then has to re-inspect and re-quote the whole job.
Conditions that call for repair, not cleaning
- Flex duct that has separated at a takeoff, boot, or trunk connection.
- Duct board with a compromised interior coating, visible fiber shedding, or significant moisture damage.
- A run that has been crushed, kinked, or compressed past the point where airflow is adequate.
- Deteriorated mastic or failed tape at joints that leaks air into the attic.
- Liner that has delaminated and sagged into the air stream.
- Register boots that have separated from the drywall at the supply opening.
What we do differently is inspect and repair under one roof, so a repair isn’t a second project. The same equipment, the same containment, and the same technician notes carry through. If you’ve had a prior cleaning that flagged one of these issues without resolving it, an inspection will tell you whether it’s still live and what the fix actually looks like. That isn’t a scare tactic. It’s the honest sequence: look, then decide, then fix.
Better air quality is the other half of the job. Working with Aprilaire and Honeywell equipment means we can talk about whole-home filtration and humidity control as a natural continuation of the repair work, not as an upsell bolted onto a cleaning visit. If the duct system is going to be opened anyway, adding filtration at the return is the most sensible moment to do it. Deltona’s humidity makes humidity control a real consideration, not a nice-to-have, and it’s worth understanding before the system gets closed back up.
Common Mistakes to Avoid
- Assuming a warm room is a thermostat problem. In Deltona, a room that runs a few degrees warmer than the rest of the house is more often a duct run issue than a thermostat issue. Get the register temperatures before you replace anything.
- Judging duct condition by the visible dust on the register face. Surface dust tells you almost nothing about what’s inside the trunk line. The register face is a starting clue, not a diagnosis.
- Treating a musty odor with a spray or a filter upgrade. A wet coil and a wet duct liner require different interventions, and neither responds to a treatment sprayed into a register. Find out which one you have before spending money on either.
- Skipping the 60 – 90 day inspection after a renovation. Drywall dust in a Deltona duct system compounds quickly through the summer. The window is short, and it’s when a repair is smallest.
- Comparing cleaning quotes on price alone. A cheap quote is frequently for the accessible sections only, run with a consumer-grade shop vacuum. If the price seems small for a whole-system job, the scope probably is too. Ask what’s included before you compare.
- Booking cleaning-only when the system needs repair. A separated flex run or deteriorated duct board won’t be fixed by cleaning, and you’ll end up with a second contractor. Ask upfront whether the company can repair what they find.
- Ignoring the dryer vent because the ducts “aren’t the problem.” The dryer vent is part of the same air system and has its own risks. A dryer taking longer to dry is the earliest signal you’ll get.
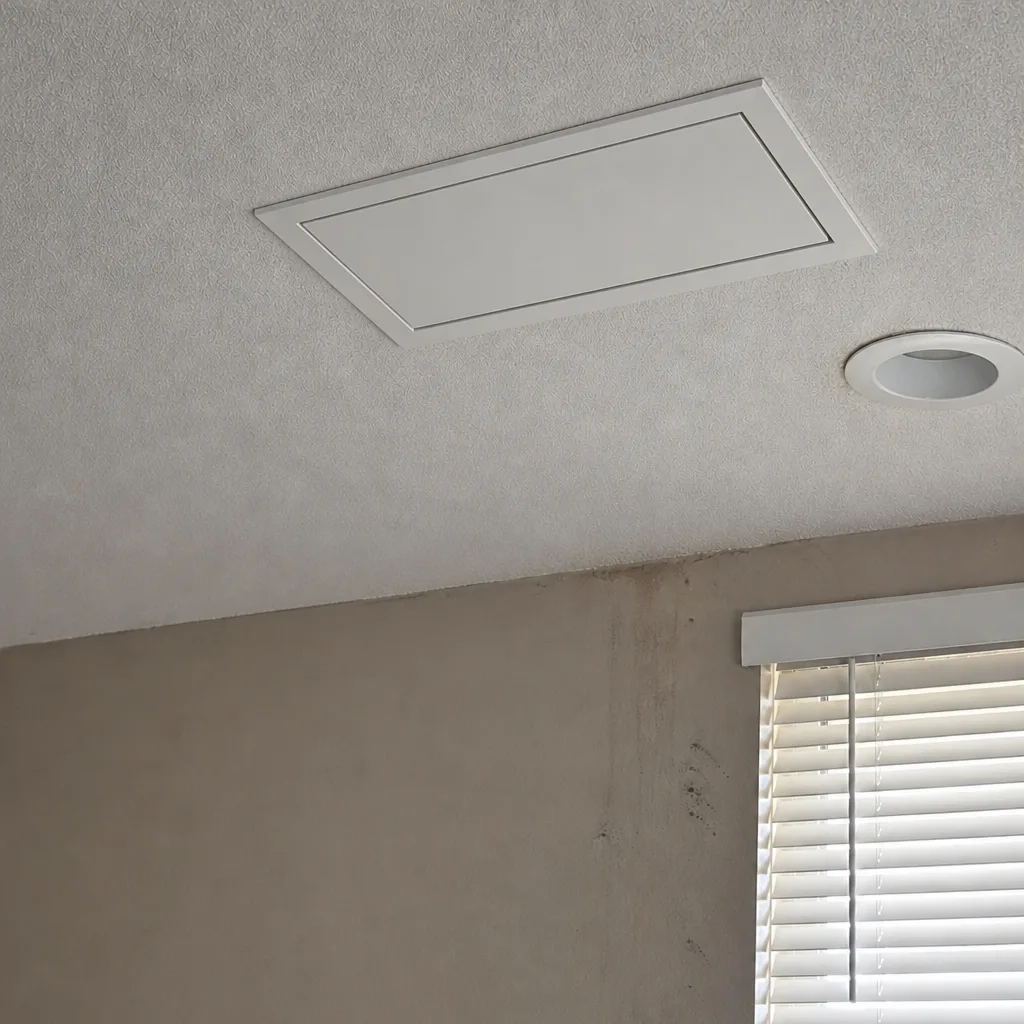
See the difference
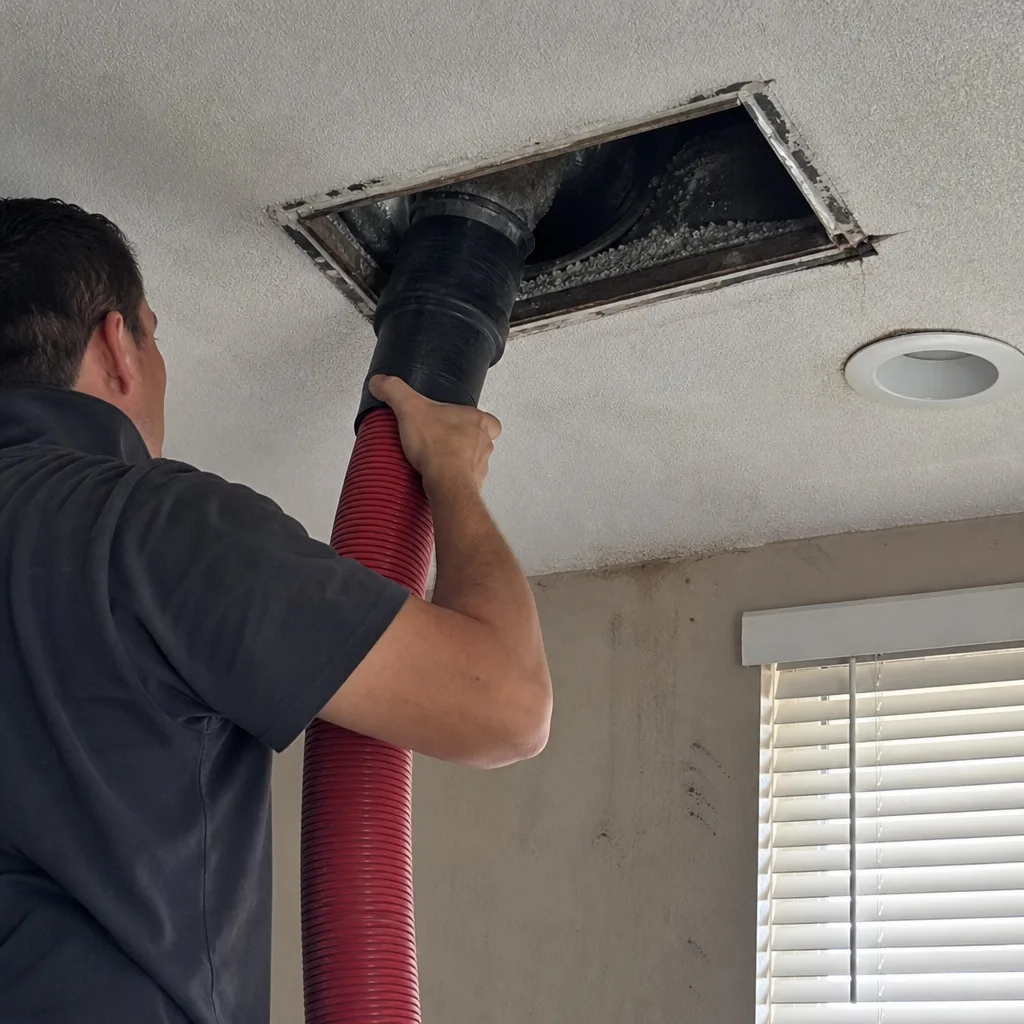 Before
 After
 Before
 After
 Before
 After
When to Call a Professional
Call a professional if you have three or more of the warning signs in this guide, if the same register has been warm across multiple seasons, if you’ve had a renovation in the last 60 – 90 days, if you see fiber shedding or moisture staining at any register, or if a previous cleaning flagged a repair that hasn’t been resolved. Those are the conditions where a proper inspection with camera and professional-grade equipment actually tells you something. If you’re in Deltona and want a straight read on what your system needs, that’s the kind of estimate we do for free. Deltona Duct Cleaning offers free estimates in Deltona – call (844) 980-4682. We answer 24/7. Fast dispatch from 7am to 7pm, Sunday through Friday.
Frequently Asked Questions
You need professional attention if you have uneven room temperatures, a musty odor in the first minute after the system starts, visible staining or fiber shedding at registers, an unexplained 15 – 20% cooling cost increase across three or more billing cycles, or recent renovation dust in the system. Visible dust alone is not enough – the signs that matter most are the ones that show up in patterns across rooms and seasons. Call (844) 980-4682 for a free estimate.
It’s usually one or the other, and the timing tells you which. A smell that appears briefly at startup and fades is often duct liner or a filter slot; a smell that builds the longer the system runs points at a wet evaporator coil. Confirming which one requires looking inside the system. A coil cleaning won’t fix liner, and a duct cleaning won’t fix a coil. Call (844) 980-4682 for an inspection.
A partially collapsed or disconnected flex run can cut airflow to a room by up to 40%, and it’s the most common cause of a single warm room in Deltona homes. Measure the register temperature in that room against the others – an 8 degree gap or more points at that specific run. In some cases it’s a refrigerant or thermostat issue, so an inspection is the way to confirm. Call (844) 980-4682 for a free estimate.
Within 60 to 90 days. Drywall dust is finer than household dust and migrates into the return plenum and trunk line during the project; by 60 – 90 days it has stopped moving and started accumulating. Inspecting inside that window catches a small problem before it becomes a larger one. Call (844) 980-4682 to schedule.
We don’t quote a per-vent or teaser price because every system is different, and the price is set per job by a written estimate after we look at the actual system. That’s the honest way to price it – a quote over the phone assumes a whole-system cleaning of a system we haven’t seen. Estimates are free. Call (844) 980-4682 for yours.
Cheaper quotes are often for the accessible sections only, run with a consumer-grade vacuum instead of a professional-grade system like Rotobrush or Nikro, and don’t include repair. The lower number reflects a lower scope. Ask what’s included – trunk lines, branch runs, return plenum, and repair capability – before comparing prices. Call (844) 980-4682 for a scope-and-estimate.
Ask for before-and-after photos of your own duct interiors, taken at the trunk line and at representative branch runs. Professional-grade cleaning equipment produces visible results that show up on camera; a quick suction pass doesn’t. A technician who knows what they’re doing will have no issue documenting the job with photos. Call (844) 980-4682 to schedule.
Most homes don’t need annual cleaning, regardless of what a coupon says. A reasonable rule is to have the system inspected if you have new warning signs, after a renovation, or if it’s been more than several years with no inspection. The Deltona climate stresses the system harder than cooler regions, so inspection matters more than a fixed schedule. Call (844) 980-4682 for a free estimate.
The Bottom Line
The duct problems that matter most in a Deltona home are the ones that don’t announce themselves – a collapsed flex run, a wet coil, duct board that’s deteriorating on the inside, drywall dust from a renovation that’s been accumulating since last season. Each shows up first as a small pattern: a register that runs warm, a smell on startup, a power bill that stepped up for no obvious reason. Run the register test, keep an eye on the bills, and treat the 60 – 90 day post-renovation window as mandatory, not optional. If you find multiple signs at once, professional inspection answers in an hour what you’d spend months guessing at. Our technicians have up to 8 years of experience with professional-grade equipment, and our Deltona service covers the whole system in one call.
When you’re ready to have the system looked at properly, call Deltona Duct Cleaning at (844) 980-4682 for a free estimate. We answer 24/7. Fast dispatch from 7am to 7pm, Sunday through Friday. One call covers your whole duct system – cleaning, inspection, dryer vent, and repair – with the same equipment and the same straight answers.
Written by the team at Deltona Duct Cleaning.