
Last updated November 16, 2026
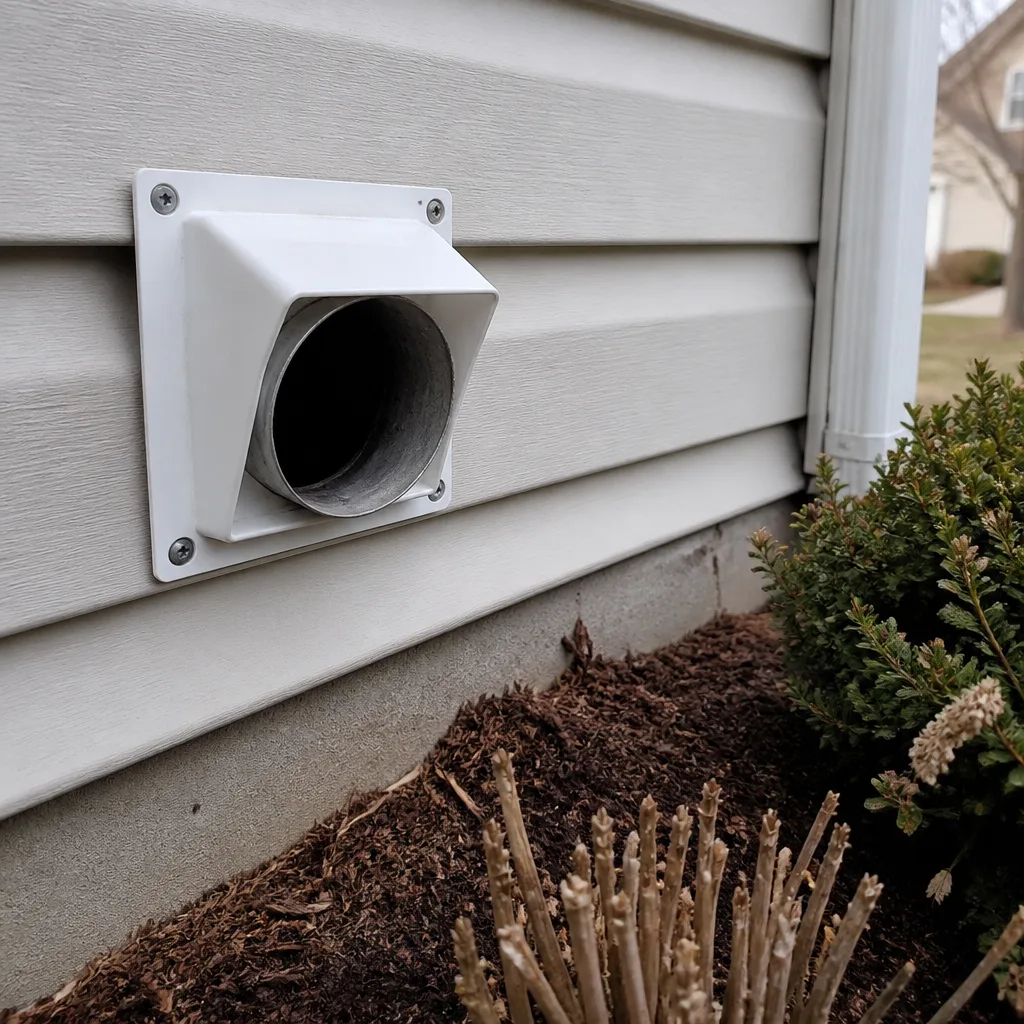 Dryer vent cleaning
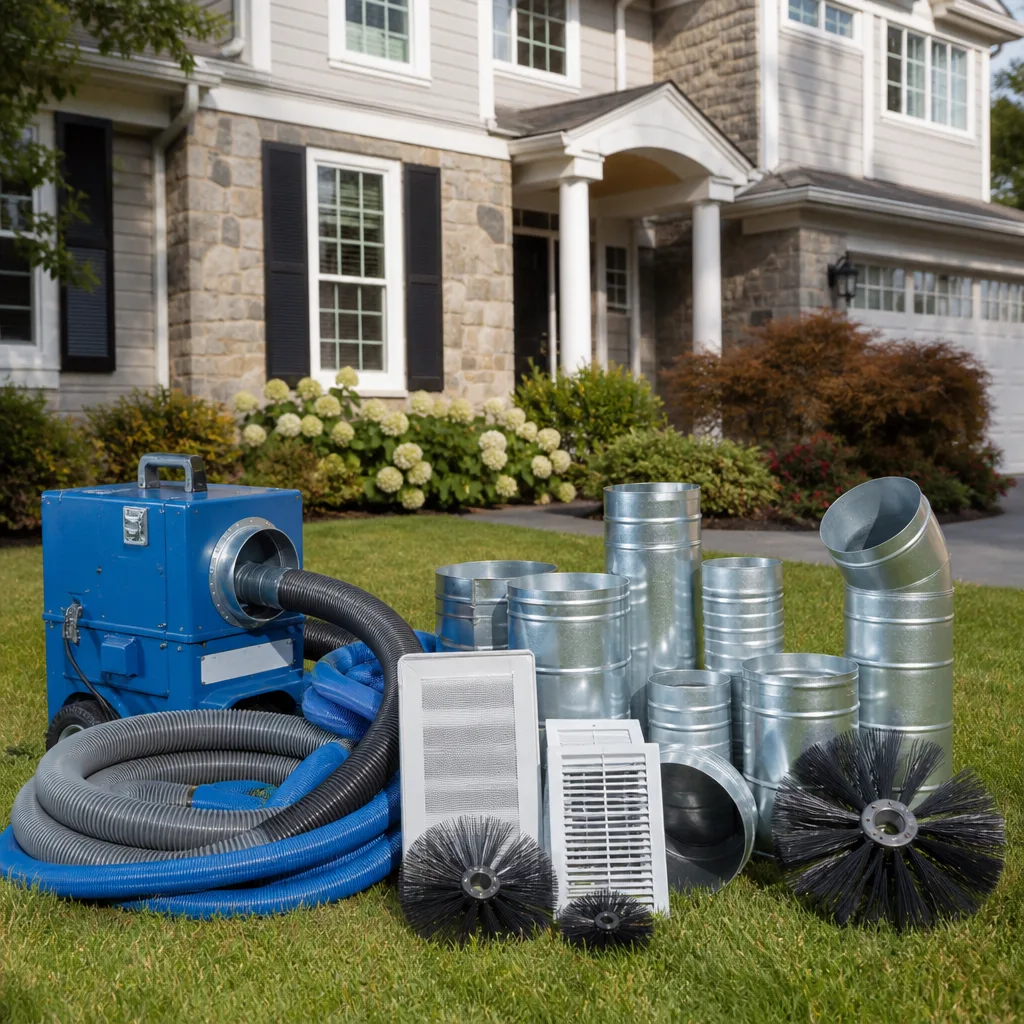 Whole-home duct cleaning
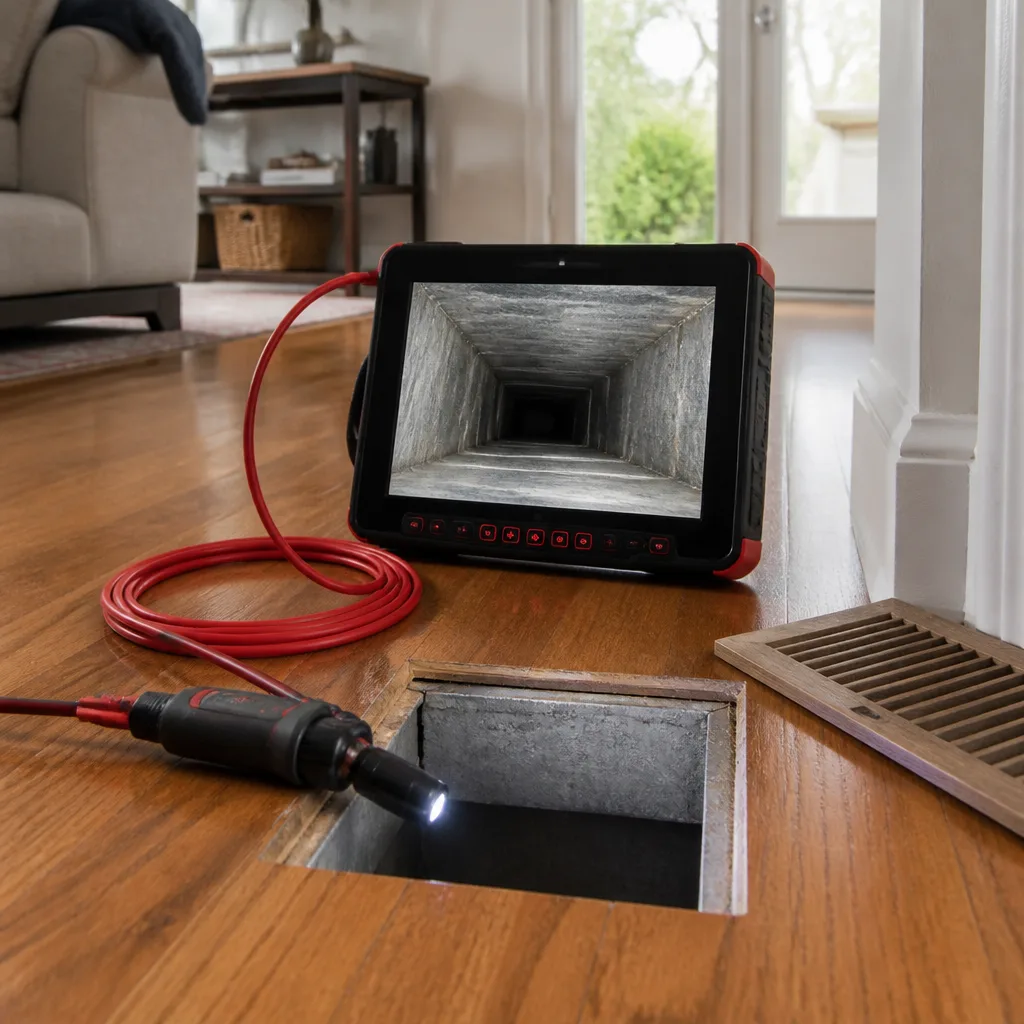 Camera inspection
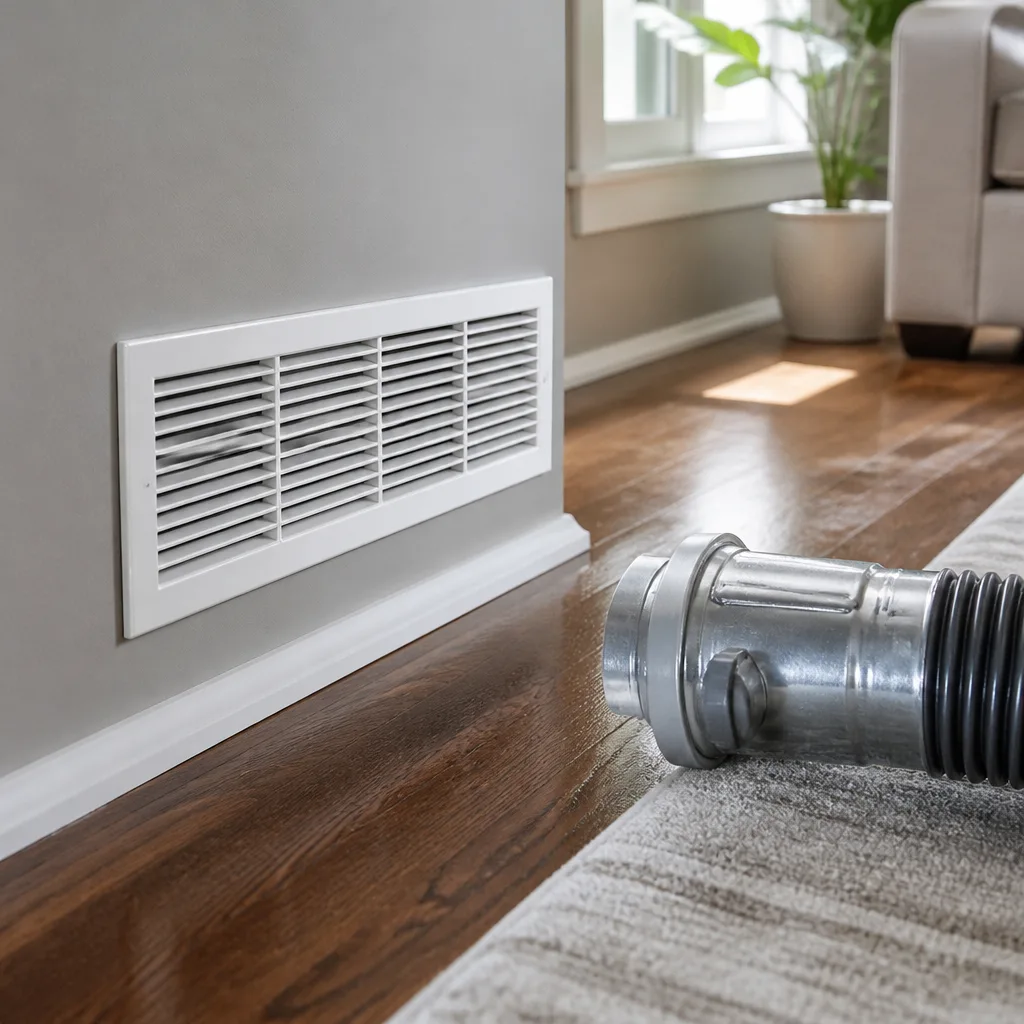 Sanitizing & deodorizing
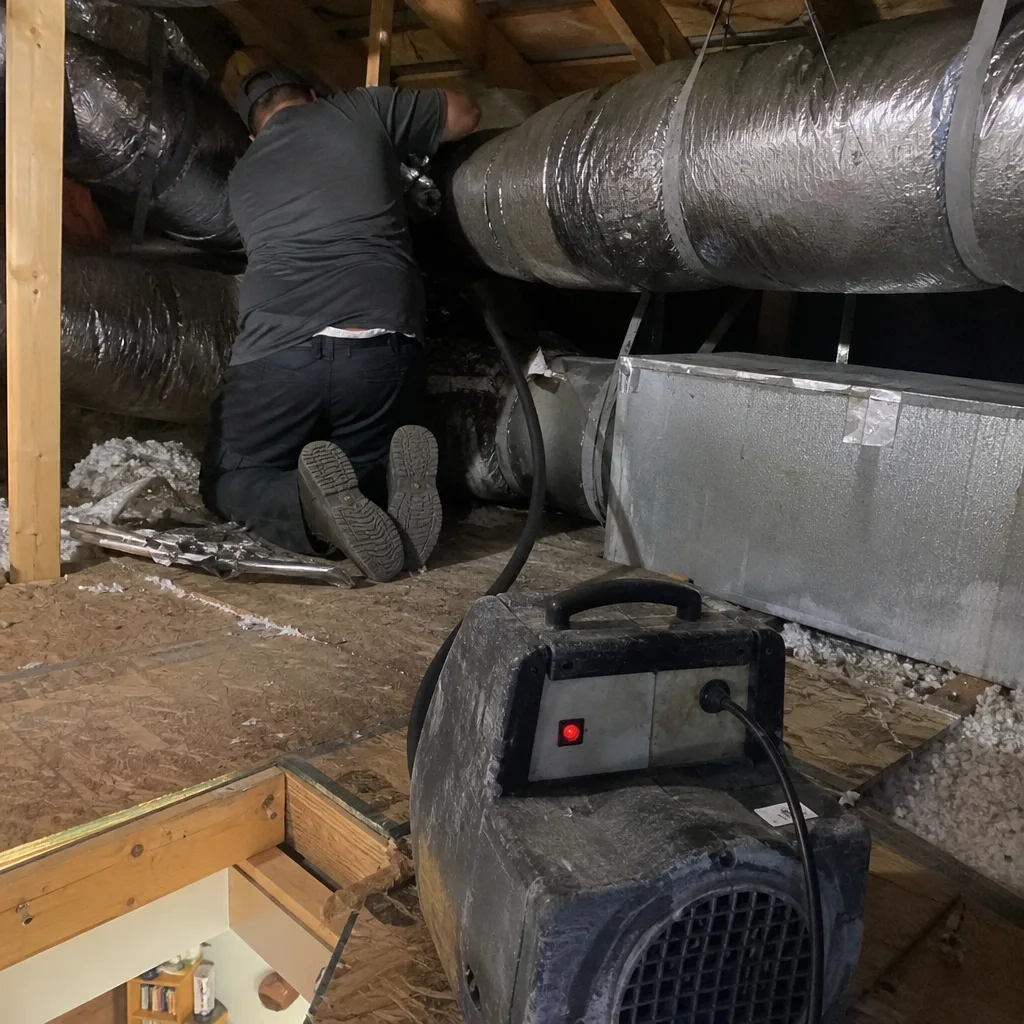
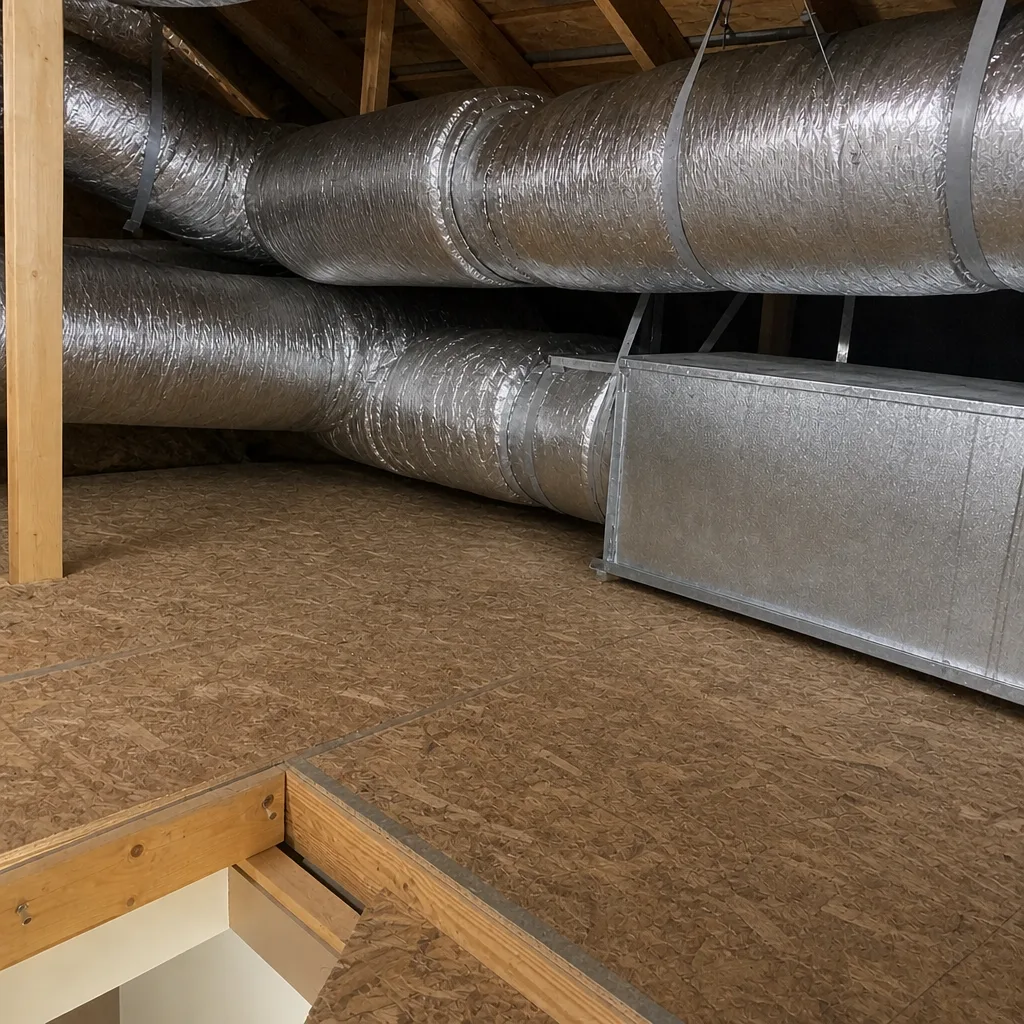
Whole-system duct and dryer vent check with before-and-after photos - you see exactly what came out of your vents
That "$99 whole-house special" is a bait ad - the real number appears once they are in your hallway, or the "clean" is a shop-vac at the register. We photograph the inside of your ducts before and after instead.
Dryer Vent Cleaning Maintenance Checklist for Deltona Homeowners
Most people judge their dryer vent by what they can see at the outside flap. If the flap moves and the cap looks clear, the vent must be fine. That assumption causes more trouble in Florida than almost any other bit of home maintenance shorthand. A lint line that reads dry and loose in a Michigan laundry closet can turn dense and paste-like in a Deltona utility room, because the same warm, humid air that fogs your windows on a June morning sits inside the duct run too. Lint drinks that moisture, clumps, and coats the inside of the pipe in a layer that a flashlight beam never reveals. What follows is the working checklist we use for dryer vent maintenance in Deltona, built around how venting actually behaves in this climate, so you can measure your own system instead of guessing at it.
Quick Answer
The short version: check your dryer vent at least once a year by measuring airflow, not by looking at the outside cap. If a load of towels no longer dries in one cycle, if clothes feel hot and damp at the end, or if the outside flap barely lifts, the run is compromised and needs professional cleaning. In Deltona’s humidity, dryers that run five or more loads a week should be checked twice a year, and any dryer in a garage or a second-floor closet deserves extra attention because the run is usually longer and harder to inspect.
Styles & brands we work with
- Whole-home duct cleaning
- Dryer vent cleaning
- Camera inspection
- Sanitizing & deodorizing
Table of Contents
- Why Humidity in Deltona Changes the Lint in Your Vent
- How to Measure Airflow the Right Way
- Length, Bends, and the IRC Vent Limit
- Deltona Housing Layouts and Their Venting Risks
- Annual vs. Biannual: Building Your Own Schedule
- A Ten-Step Seasonal Inspection You Can Follow
- Why Equipment Matters More Than a Home-Shop Vacuum
- Warning Signs That Point to a Blocked Run
Why Humidity in Deltona Changes the Lint in Your Vent
Lint is mostly cellulose fiber, skin cells, and dust held together by whatever moisture the air carries. In a dry climate, that mix stays fluffy, blows through a duct run, and collects in loose clumps at the bottom of the pipe. Here, the air inside a laundry room routinely holds far more water vapor, and the dryer pushes that humid air straight into the vent. The fiber picks up the moisture and binds. Instead of drifting, it plates the walls of the duct in a compacted mat that resembles wet cardboard once it dries.
That texture change matters because it defeats the two checks most homeowners rely on.
- The exterior flap test. A flap can flutter open from a small remaining gap even when half the run is coated. Movement proves the vent isn’t fully sealed, not that it’s clean.
- The flashlight-at-the-cap check. You see the first few inches of the pipe. The compaction in a Deltona vent usually builds mid-run, at the first elbow and where the pipe passes through the wall cavity. The cap looks bright and tidy while the middle of the run is choked.
We’ve measured runs in Deltona that read completely clear at the termination and were blocked at roughly the halfway point. Nothing visible told the homeowner the truth. Airflow did. That’s the single biggest shift this checklist asks you to make: stop trusting your eyes at one end of the pipe, and start measuring what actually moves through the whole length of it.
There’s a second humidity effect worth knowing about. Deltona’s warm season means dryers run year-round, so lint never gets a long cold-season pause to fall loose. The buildup keeps compounding in steady layers, which is why a Florida vent often ages faster than the same vent would in a colder climate serving the same number of loads.
How to Measure Airflow the Right Way
Airflow is the only reliable diagnostic for a humid-climate dryer vent, and you can get a useful reading with a few dollars of hardware-store gear. The principle is simple: a clean run moves a strong, steady column of air at the outside cap. A compromised run moves less, moves it unevenly, or barely moves it at all.
The plastic-bag method
Cut the bottom from a large, thin plastic trash bag. Tape the open end snugly over the vent cap so the bag forms a balloon around the opening. Run the dryer on a timed heat cycle. A clear run inflates the bag firmly within about fifteen seconds and holds it inflated. A bag that sags, half-fills, or flutters weakly within the first minute points to restriction somewhere along the run.
The pressure-gauge method
For a true reading, a simple handheld manometer or a magnehelic-style gauge placed at the termination tells you far more than a bag can. A fully clean run shows strong static pressure at the cap opening. A run with a compacted mid-length blockage reads noticeably lower. The exact number depends on your dryer’s rated output and the length of the run, so compare the reading against a baseline you take when the vent is known clean, then check it again at your next service interval. A drop of any noticeable size means restriction has returned.
What to record
- Date and dryer model.
- Number of loads typically run per week.
- Bag inflation time, or the gauge reading if you use one.
- How the clothes feel at the end of the cycle.
- Outside air temperature and rough humidity if you want the most complete record.
Keep those notes in the laundry room. Over two or three years you’ll have a clear picture of how fast your specific run fouls. That’s the kind of record no national checklist can give you, because every Deltona household runs a different number of towels through a different length of pipe. It’s also the difference between maintenance and reaction.
Length, Bends, and the IRC Vent Limit
The International Residential Code sets a cap on how long a clothes dryer exhaust run can be, and the practical limit is shorter than most people expect. When you factor in the bends, an ordinary Deltona layout can exceed the allowed equivalent length without anyone noticing, because nobody measures it until the dryer starts underperforming.
The code rule works on “equivalent feet.” A straight section counts at its actual length. Every 90-degree elbow adds a set amount of equivalent length, and the more elbows, the faster you burn through your allowance. A typical allowance for a smooth rigid metal duct sits around 35 feet, and a single 90-degree elbow can eat a significant slice of that. Flex duct carries a shorter allowance than rigid metal. The exact figures are in the code tables, so when you’re planning anything, confirm the current numbers with your local building department rather than relying on a rule of thumb.
How to estimate your run
- Find where the vent leaves the dryer and where it exits the house.
- Pace off the straight sections and add up the footage.
- Count every 90-degree turn and every 45-degree turn. Include the ones inside the wall cavity, which you may need to infer from the layout.
- Add the code equivalent footage for each turn to your straight-line total.
- Compare the total to the allowance for your duct material.
One hidden culprit in Deltona homes is the flexible foil or vinyl-style duct that was pushed into place during a quick install. Flexible duct is allowed in some configurations, but it adds restriction and collects lint faster than smooth rigid metal, especially when a long slack section sags. A run that was legal on paper can still be a poor performer when it’s kinked or looped behind the dryer. If you’re unsure where your run sits against the code limit, that’s exactly the kind of question a full inspection answers.
Deltona Housing Layouts and Their Venting Risks
Deltona’s housing stock includes a lot of ranch and split-level homes built across several decades, and two layouts show up again and again in the work we do. Each carries its own venting risk, and neither risk is obvious from the laundry room.
The garage laundry room
Many Deltona homes put the washer and dryer in the garage or just off it. This layout usually forces a longer run to reach an exterior wall, and often that run climbs through the attic or soffit before turning out. Long runs plus attic heat, which in Deltona can climb steeply in warm months, means lint cakes onto the duct walls faster. Garage laundry setups also tend to have fewer visible access points, so a blockage builds with nothing to warn you.
The second-floor interior utility closet
In two-story Deltona homes, the laundry often sits in a hallway closet with no exterior wall nearby. The vent must travel down or across the structure to reach the outside. Those runs almost always contain multiple elbows, and elbows are exactly where compacted lint gathers. A closet that shares a wall with a bedroom or bathroom also means the dryer’s exhaust run passes through conditioned space, so a leaking or restricted duct can affect more than drying time.
What to check for in either layout
- Any slope or sag in flexible duct, which collects lint at the low point.
- Bends sharper than the duct was designed to tolerate.
- Runs that pass through hot attics with little insulation.
- A termination that sits close to shrubs or under a soffit where airflow backs up.
- Duct tape or foil tape peeling at joints, an early sign of a loose connection.
Both layouts are common throughout Deltona, from established neighborhoods to newer builds. The fix isn’t complicated, but it starts with knowing which layout you have and treating its weak points as the places to check first. If you’d like a straight read on your whole system, our Deltona Duct Cleaning team can look at the run and tell you what you’re actually dealing with.
Annual vs. Biannual: Building Your Own Schedule
There is no universal “once a year” rule for dryer vents. The right interval depends on how often the dryer runs, whether it’s gas or electric, and how long the run is. Here’s how we help Deltona homeowners think about it.
By dryer type
- Gas dryers. Gas appliances carry more heat and more combustion byproducts into the exhaust stream, and the vent run handles a heavier load. In a humid climate, check airflow every six to twelve months. A cautious rule is to have the vent professionally cleaned at least annually and measure it yourself in between.
- Electric dryers. A lighter service load. Annual cleaning fits most Deltona households, with an airflow check at the halfway point if the dryer runs often.
By load frequency
- One to three loads a week: Check yearly. Clean when airflow drops or the dryer feels slow.
- Four to six loads a week: Clean yearly and check airflow every six months.
- Seven or more loads a week (larger households, homes with young children): plan on cleaning twice a year and measuring in between.
By run length and layout
A short, straight run to an exterior wall cleans itself out better than a long run with elbows. If your Deltona home has a garage or second-floor laundry with a run over 15 feet or more than two elbows, add one cleaning to your baseline. Shorten the interval further if the run passes through an attic.
One useful habit is to pair the schedule with the seasons. A late-spring check catches a run that’s been through a humid warm season and gets you clear air for the summer. A late-fall check catches anything that built up over the summer months. Two checks a year, one cleaning whenever airflow tells you it’s time. That’s more reliable than any fixed calendar.
A Ten-Step Seasonal Inspection You Can Follow
This is the routine we’d hand to any Deltona homeowner who wants to stay ahead of a blockage. It’s a checklist, not a repair guide. For anything involving the run inside a wall, a gas line, or electrical work, stop and bring in a professional. Push the dryer out only if the cord and gas supply allow it safely, and unplug the unit first.
- Unplug the dryer. If it’s a gas model, close the supply valve before you move it.
- Pull the dryer out carefully and inspect the flexible transition duct behind it for kinks, crushing, or torn foil.
- Disconnect the transition duct and shine a light into the wall-side opening. Note what you see in the first few inches.
- Vacuum the lint trap housing and the area around the drum opening.
- Clean the lint screen with soapy water to remove fabric-softener film, then dry it fully before reinstalling.
- Go outside and check the termination cap. Clear any lint mat from the flap or screen.
- Run the plastic-bag airflow test or take a gauge reading, and record it.
- Reconnect the transition duct and secure it with foil tape, not screws that pierce the duct interior.
- Run an empty heat cycle and check that warm, moist air is moving out the exterior cap.
- Note the date, reading, and any changes on your maintenance record.
This inspection takes about twenty minutes and tells you whether the run is healthy. What it can’t do is clear a compacted buildup mid-run. That takes equipment that reaches the full length of the pipe and agitates the walls rather than just sucking surface fuzz. The next section explains why.
Why Equipment Matters More Than a Home-Shop Vacuum
A shop vacuum with a long hose is a reasonable tool for the first few feet of a vent. It is not a duct cleaning system. The reason comes down to how compacted lint behaves: it clings to the walls of the pipe in a layer that a straight suction hose glides past. Removing it means agitating the surface with a rotating or whipping action while pulling the loosened material back out at the same time.
That’s why we run professional-grade Rotobrush and Nikro systems on every dryer vent and air duct job in Deltona. These are the same equipment families used in commercial and remediation work, not consumer vacuums with a longer hose connected. The rotating brush action breaks the compacted mat free from the duct walls, and the high-volume vacuum carries it out before it settles again. For homes where air quality is a serious concern, we also work with Abatement Technologies air filtration and containment equipment, which is the standard in professional remediation and keeps dust from spreading through the rooms while we work.
What that means for your dryer vent
- The full length of the run gets brushed, not just the visible ends.
- Compacted, humidity-bound lint comes out instead of being loosened and left inside.
- Your technician can see the condition of the whole run and flag kinks, tears, or loose joints.
- If part of the duct is damaged, it can be repaired rather than cleaned around.
That last point matters. A cleaning-only company that finds a crushed or disconnected section of duct will tell you to call someone else. Because we also handle air duct repair, the same visit that finds a problem can fix it. That’s part of why we treat your dryer vent cleaning as a full-system job rather than a quick pass with a vacuum. The same equipment and the same repair capability extend to air duct cleaning, which we recommend pairing with the dryer vent work when both systems need attention.
Warning Signs That Point to a Blocked Run
When a Deltona dryer vent starts closing up, it usually tells you in stages. Learning the early signs saves a lot of trouble and often prevents a service call turning into something bigger. These are the cues we ask homeowners to watch for:
- Longer cycles. The same load of towels now takes two cycles where it used to take one.
- Clothes feel hot and damp at the end of the cycle, as if moisture is being baked in rather than removed.
- The exterior flap barely lifts, or lifts only in gusts. A weak flap is a strong sign of a mid-run blockage.
- Heat in the laundry room. A dryer that can’t vent its hot, humid air well will warm the room it sits in.
- A musty smell in the laundry area. In Deltona’s humidity, damp lint sitting in the duct can turn musty fast.
- The lint screen fills faster than usual. More lint recirculating often means the exhaust side is blocked.
- Visible lint around the exterior cap matting against the flap or screen.
Any two of these together merit a professional airflow test. Don’t wait for a total stoppage. A partially blocked run still runs the dryer, which is exactly what makes it easy to ignore. And a fully blocked dryer exhaust is a genuine safety concern: the heat and lint load can build into a fire risk. If you notice the signs piling up, call (844) 980-4682. We answer 24/7, and fast dispatch from 7am to 7pm, Sunday through Friday, gets a technician out to measure the run.
Common Mistakes to Avoid
- Trusting a clear exterior cap. The visible end of the vent is the least informative part. In Deltona’s humidity, compaction builds mid-run, and a flashlight check at the cap gives confidence the run doesn’t deserve.
- Skipping the airflow measurement. Without a bag test or gauge reading, you have no baseline. You’ll only notice a problem when clothes stop drying, which is late.
- Using flexible foil duct as a long run. Flexible duct collects compacted lint faster than smooth rigid metal, and if it’s kinked or slacked behind the dryer, it chokes the run. Keep it short where it’s used at all.
- Screwing through the transition duct. Screws put a sharp edge inside the pipe that catches lint and can tear the foil. Use foil tape.
- Leaving the lint screen soaped up. Fabric-softener film builds on a screen and blocks airflow. Wash it occasionally and let it dry fully.
- Assuming yearly is enough. A busy Deltona household running a gas dryer with a garage-layout run often needs twice a year, not once.
- Buying a cheap coupon clean. A flat price for a few minutes with a shop vacuum is not the same as brushing the full length of the run with professional equipment. Ask what’s actually being cleaned.
See the difference
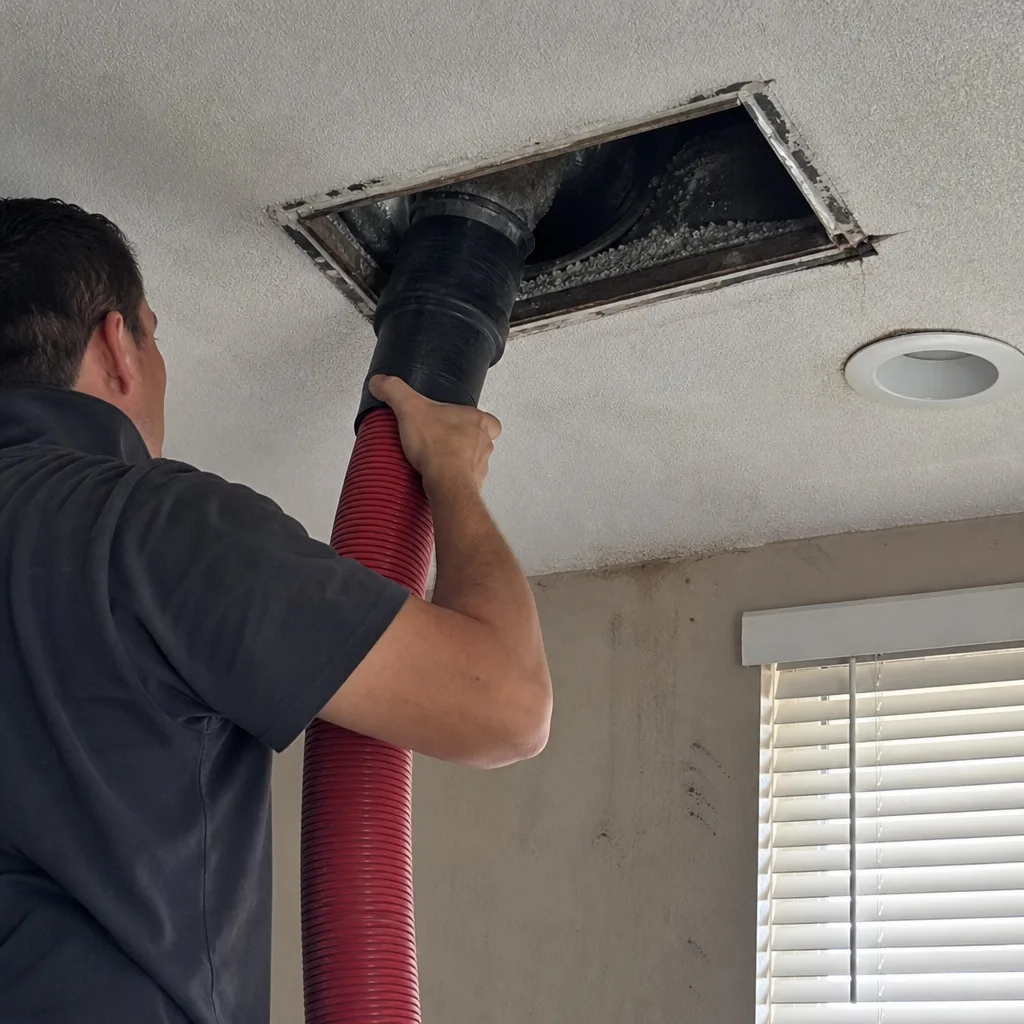 Before
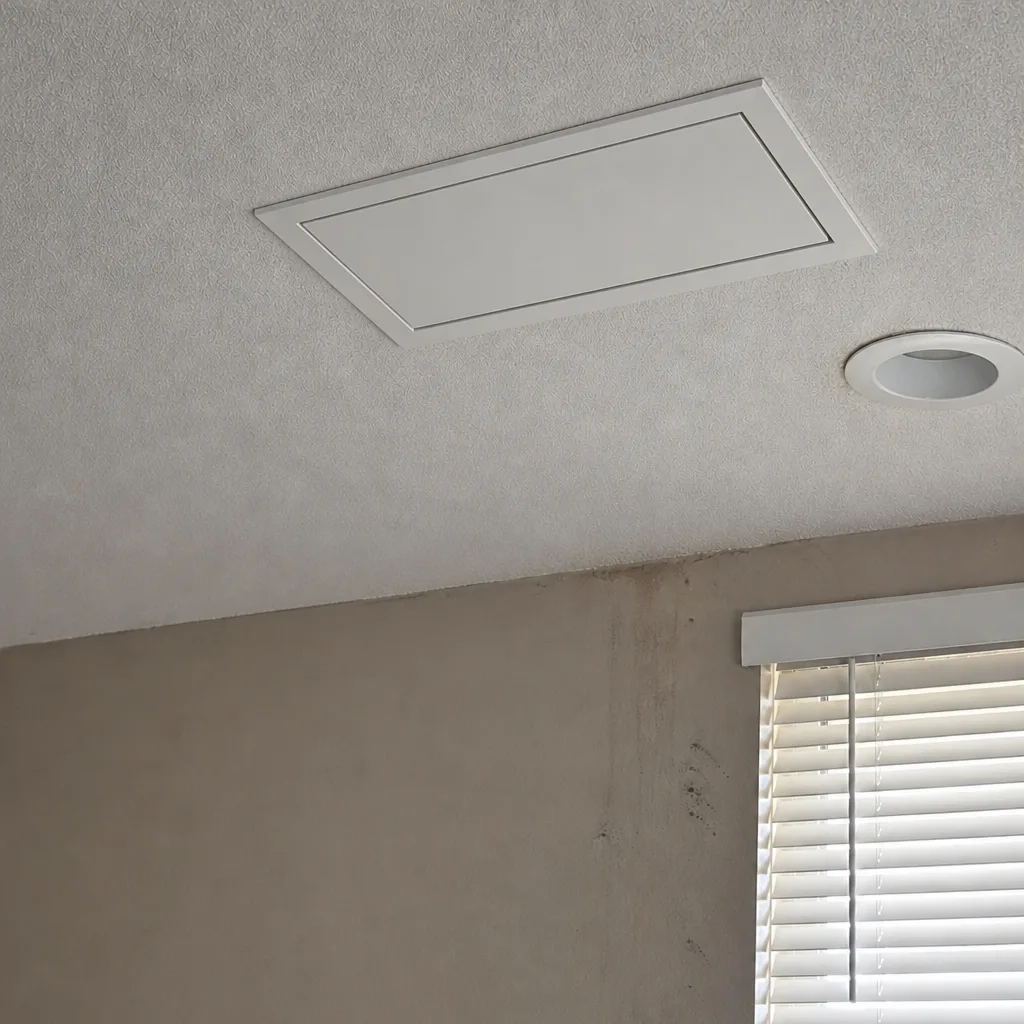 After
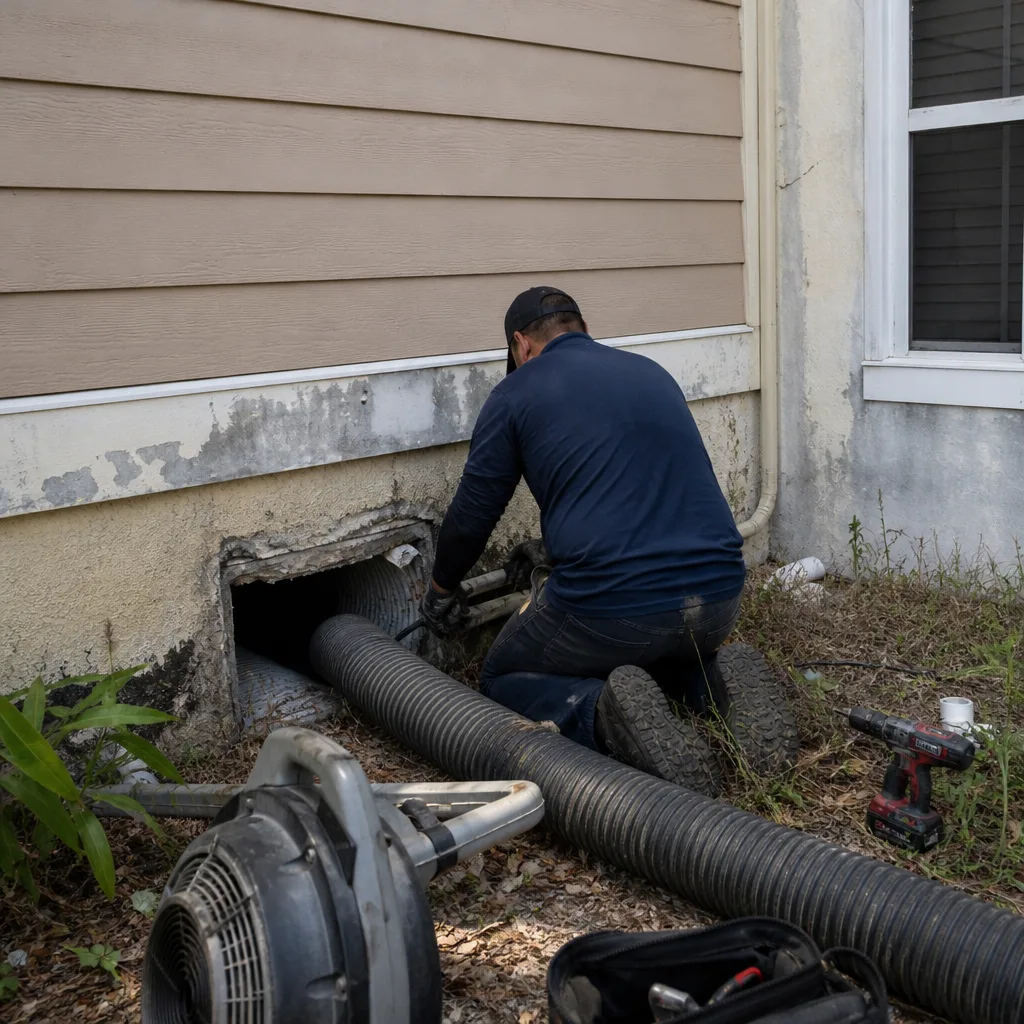 Before
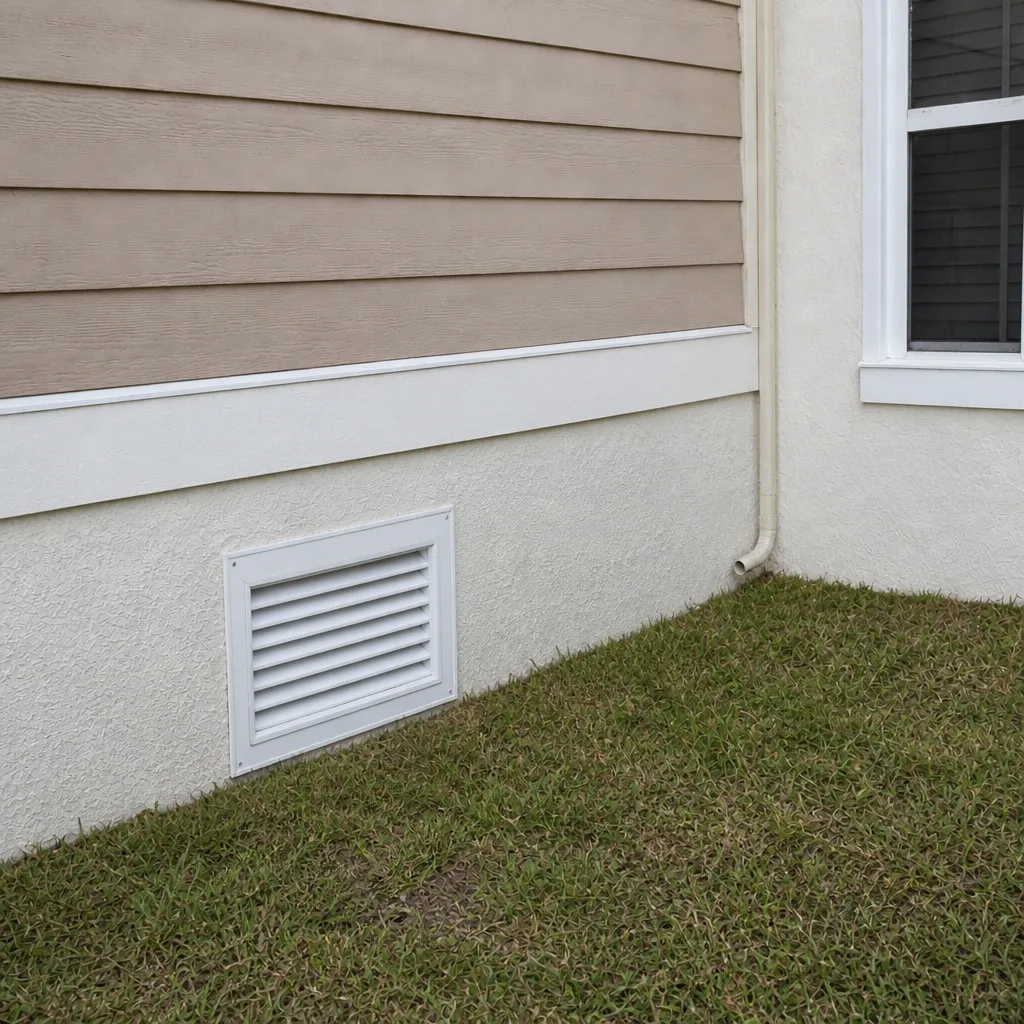 After
 Before
 After
When to Call a Professional
Bring in a professional when your bag test or gauge reading shows a clear drop from baseline, when two or more of the warning signs above are present, or when the dryer is in a garage or second-floor Deltona layout with a long, elbowed run. Also call if a seasonal inspection turns up a kinked, crushed, torn, or disconnected section of duct, since that needs repair rather than cleaning. And call if it’s simply been more than a year since the last full cleaning, or if you’ve just bought an older Deltona home and don’t know its history. Deltona Duct Cleaning offers free estimates in Deltona at (844) 980-4682, and our technicians have up to 8 years of experience with Rotobrush, Nikro, and Abatement Technologies equipment.
Frequently Asked Questions
At least once a year for most Deltona households, and twice a year if you run seven or more loads a week, use a gas dryer, or have a long run with multiple elbows. Deltona’s humidity causes lint to compact faster than in dry climates, so annual airflow checks between cleanings are just as important as the cleaning itself.
Because the buildup is almost always mid-run, where a flashlight can’t reach. Deltona’s humid air turns lint into a compacted mat on the duct walls that leaves the exterior cap looking clean while the middle of the pipe is restricted. An airflow test at the termination is the only reliable way to catch it.
Professional equipment brushes the full length of the run and pulls the loosened lint out with high-volume vacuum. A shop vacuum only reaches the first few feet and can’t agitate compacted lint off the walls. For your dryer vent to actually improve, the whole run needs to be brushed, not just its opening.
A fully blocked dryer vent is a real fire risk, because heat and lint can build up without an exit. That risk is why airflow measurement and regular cleaning matter. It’s also why any signs of a compromised run merit a professional check rather than a wait-and-see approach.
It can be. Garage laundry rooms usually have longer runs, often through hot attics, and second-floor closet laundry rooms almost always have multiple elbows. Both layouts collect compacted lint faster. They deserve annual cleaning as a minimum, with airflow checks every six months.
Many Deltona homeowners have their air ducts checked in the same visit as the dryer vent. Your dryer vent is part of your home’s air system too, and both share lint and dust loading. Pairing the two lets one technician assess your whole system, and if the ducts need repair, we can handle that as well. Call (844) 980-4682 for an estimate.
The Bottom Line
Dryer vent maintenance in Deltona comes down to measuring airflow instead of trusting a visual check at the exterior cap. Humidity changes the lint into a compacted layer that builds mid-run, so a flap that lifts and a bright pipe opening at the termination prove very little. Measure the run with a bag test or gauge, know your duct length and bends against the code limit, and build your cleaning schedule around dryer type, load frequency, and layout. Clean annually as a baseline, twice a year for heavy use, and call a professional when airflow drops or the run needs repair. If you’d like a straight read on your system, call (844) 980-4682 for a free estimate. We answer 24/7, fast dispatch from 7am to 7pm, Sunday through Friday. Our Deltona specialists can check the whole system in one visit.
Written by the team at Deltona Duct Cleaning.